
This French Toast Casserole recipe is always SUCH a huge hit! My kids get so excited when I make this! It's super easy, and can be assembled a day ahead of time, so you can just pop it into the oven in the morning.
French Toast Casserole
- 1 loaf whole wheat bread, cubed (or if you're fancy like me and you make your own bread, use that! Here's my favorite go-to bread recipe. I make a loaf every 2-3 days for sandwiches, etc! I save the heels in the freezer for recipes like this!)
- 10 eggs
- 2 ½ cups milk
- ½ cup pure maple syrup
- ¼ cup butter, melted
- 2 tsp ground cinnamon, or 2-3 drops Cinnamon Bark Vitality
Preheat oven to 350°. Arrange bread cubes in a 9x13 baking dish. Mix all other ingredients and pour over the bread. I like to mix it up a little with a spoon or spatula to make sure all of the bread is covered well! Pop that bad boy into the oven for 40-45 minutes.
While it's baking, make the topping...
Topping:
- ½ cup butter, melted
- ½ cup coconut sugar
- ½ cup chopped pecans
- sometimes I like to get a little crazy and add another drop of Cinnamon Bark Vitality
Pour the topping over the casserole and bake for about 10 more minutes. Once you take it out of the oven, let it rest for 5-10 minutes before digging in.
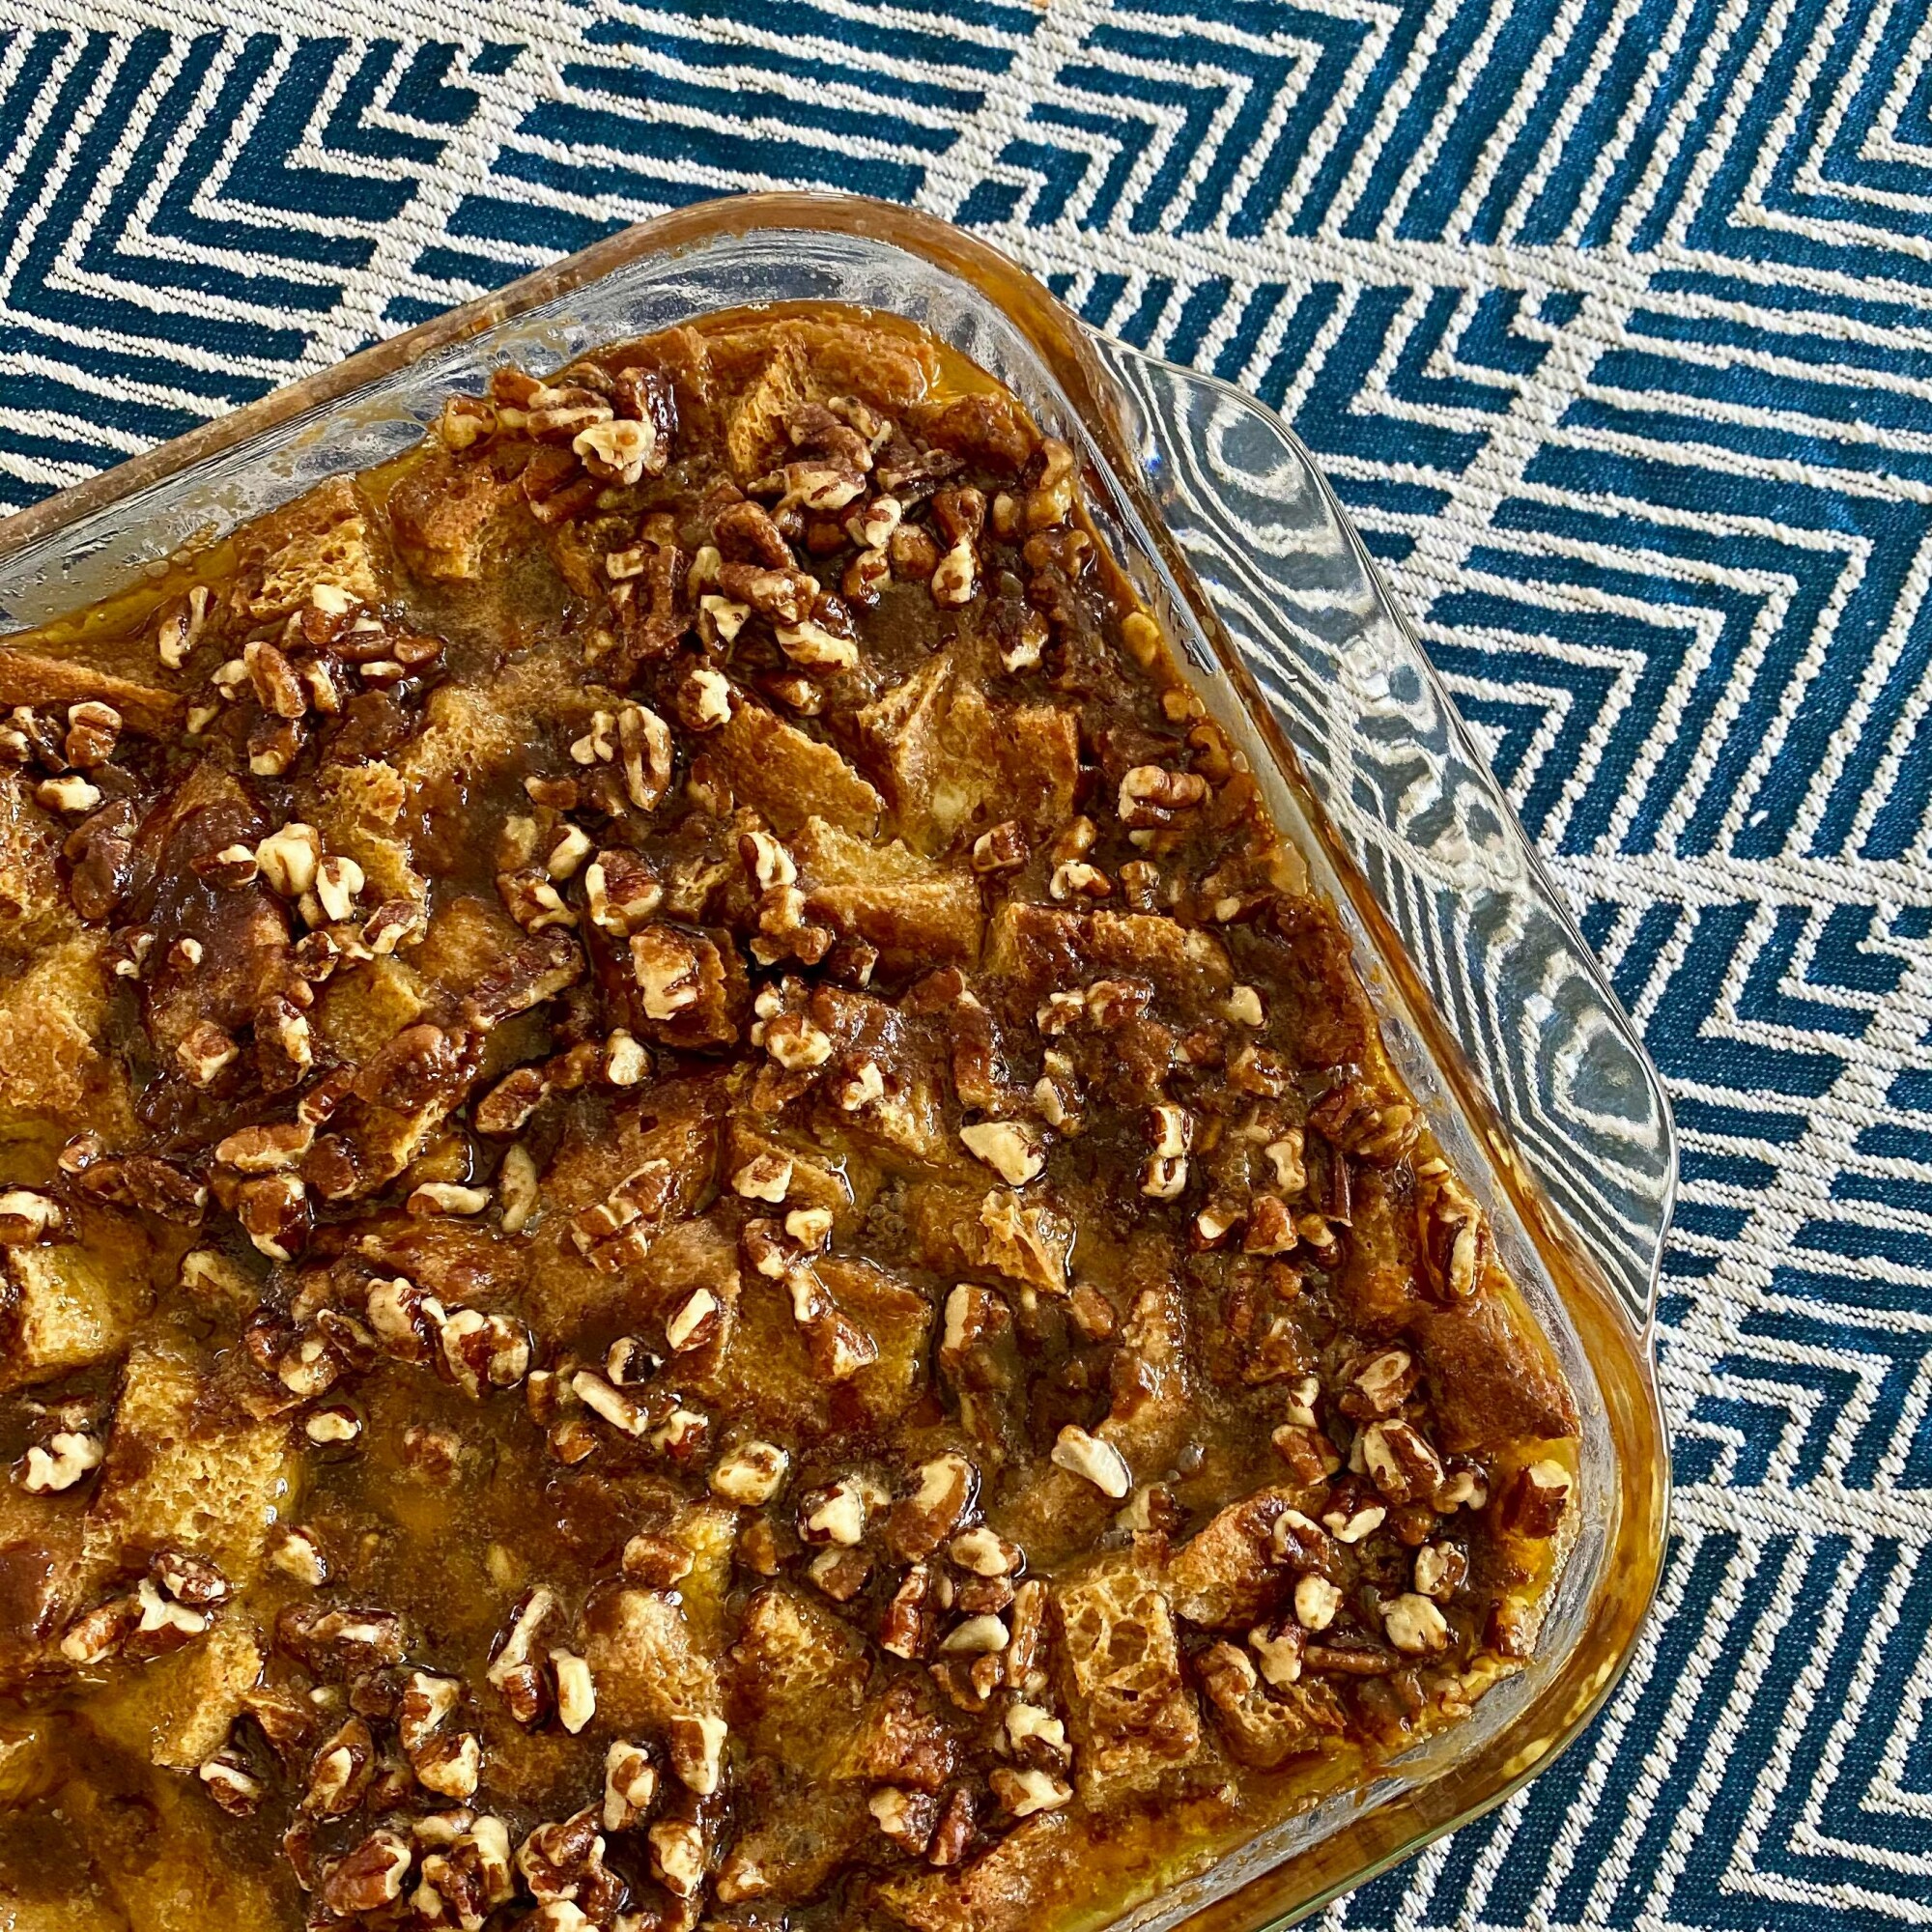
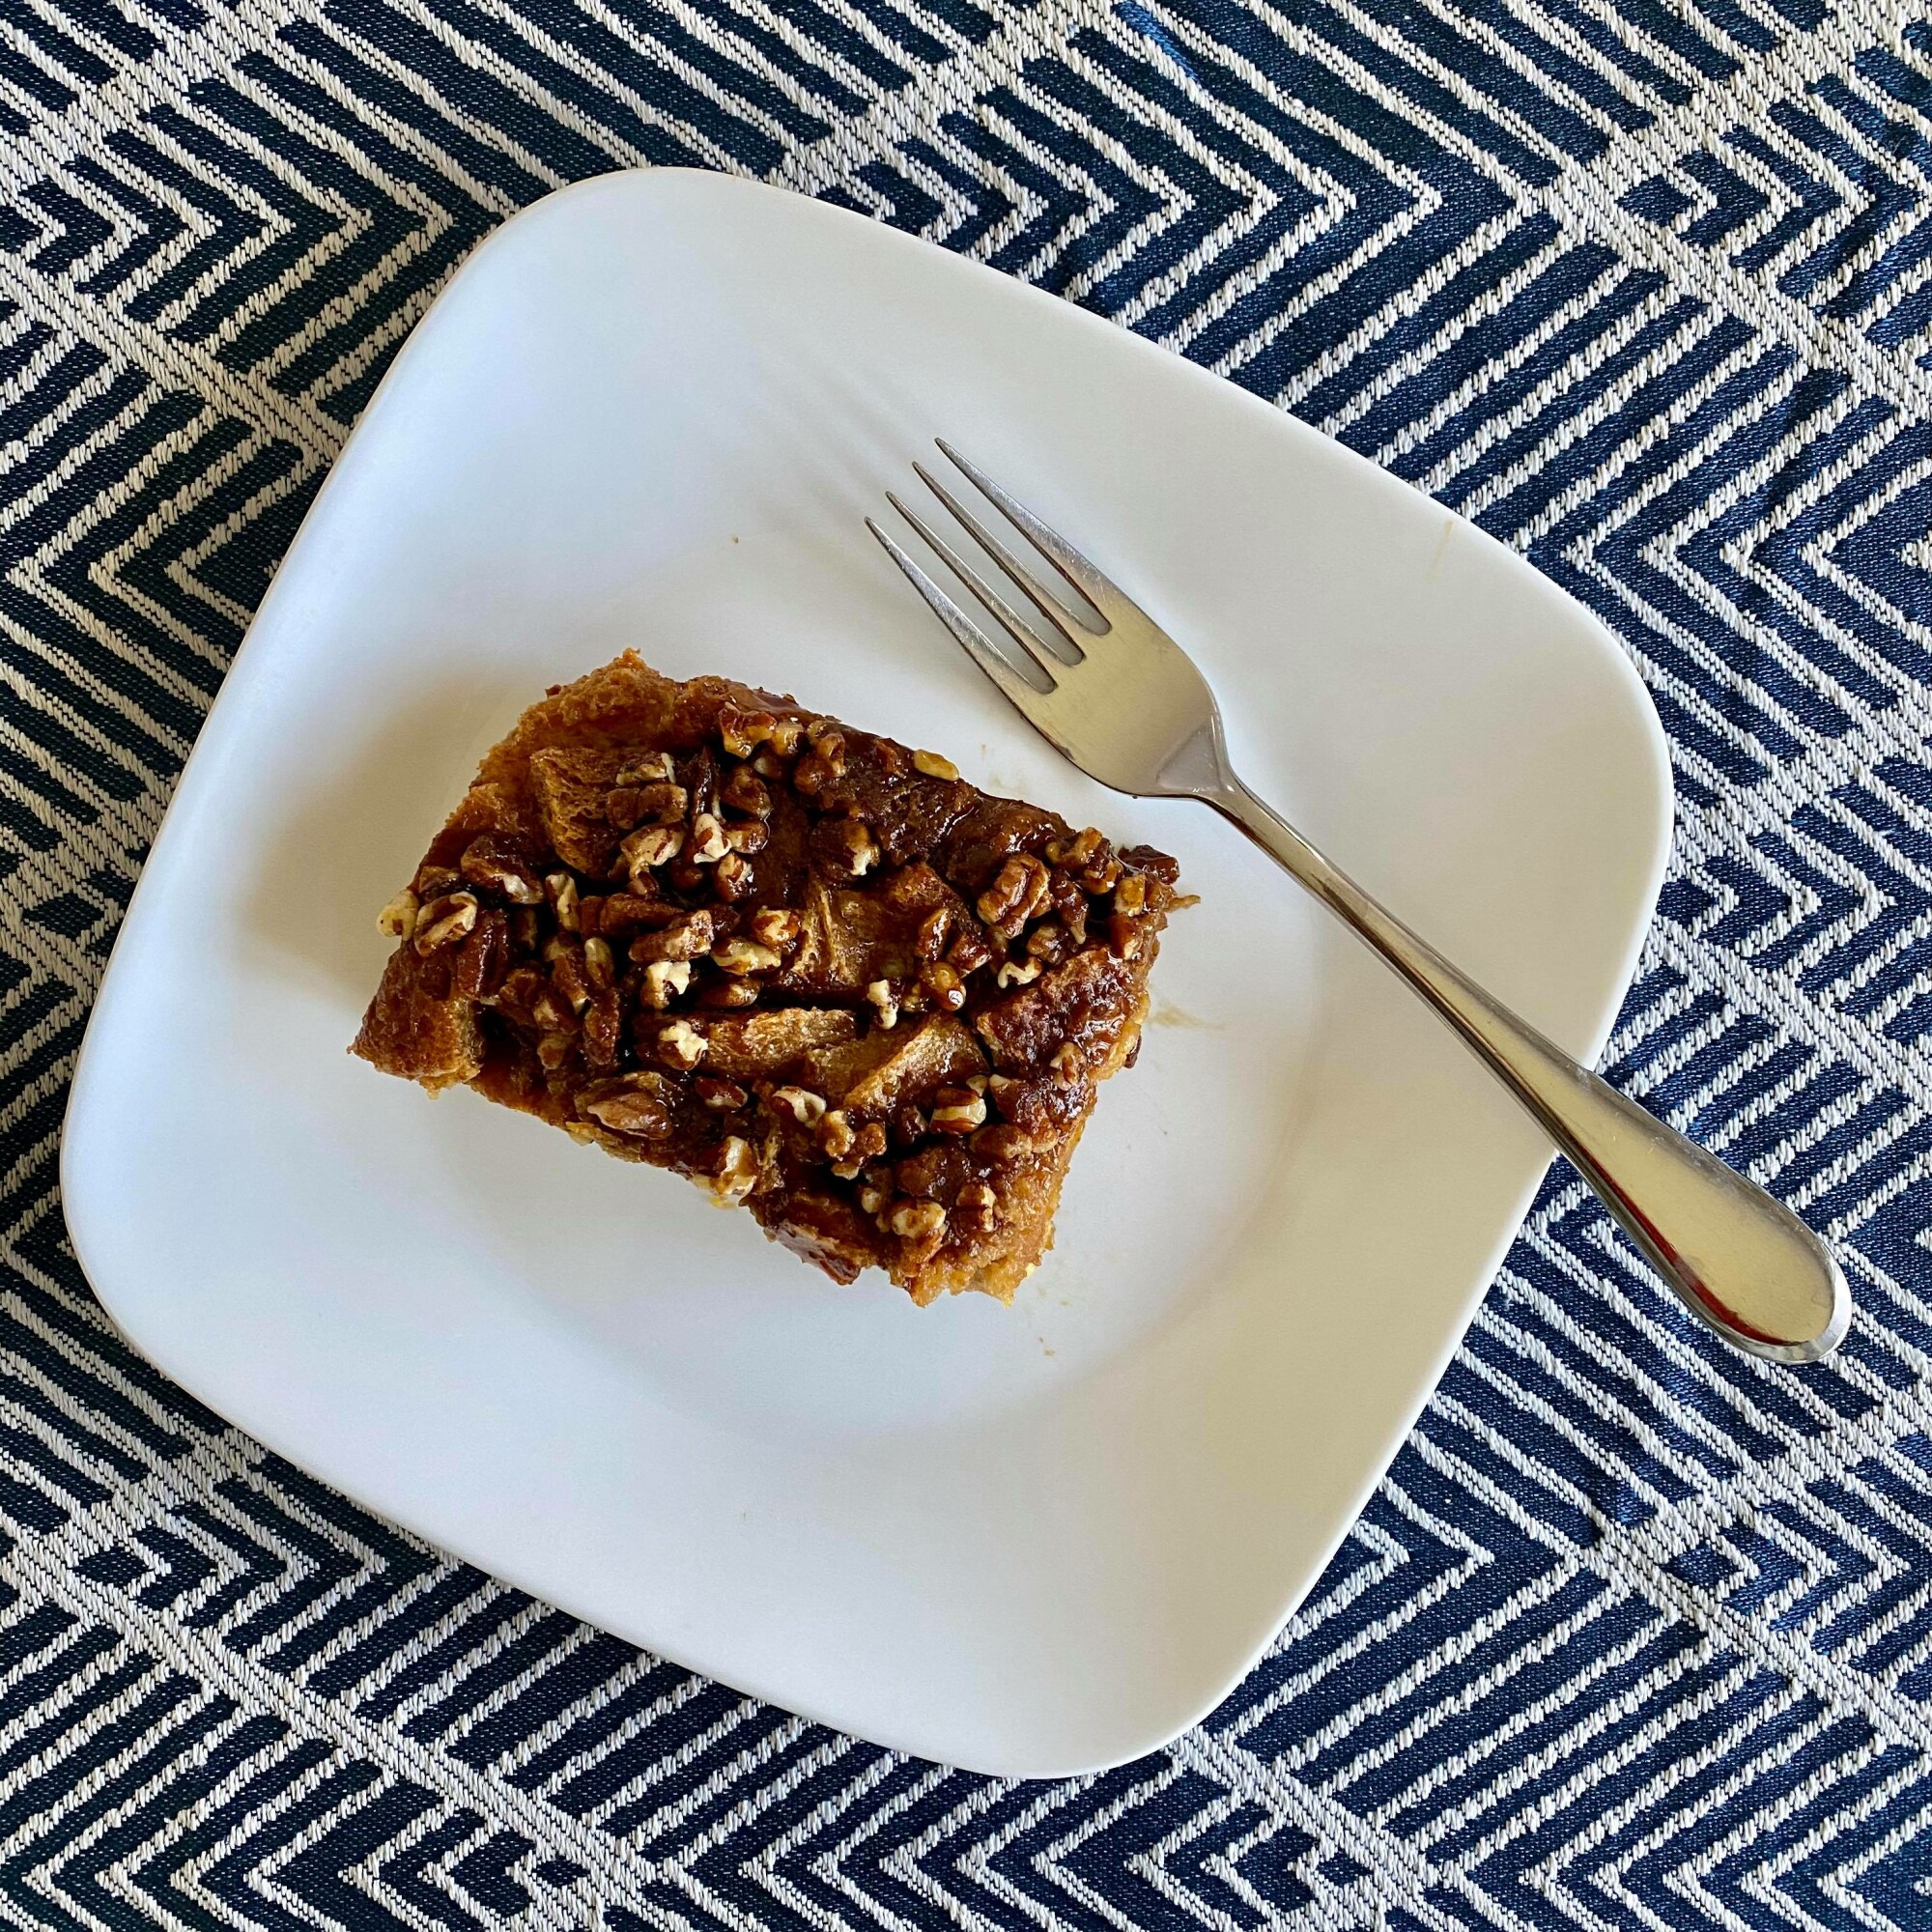
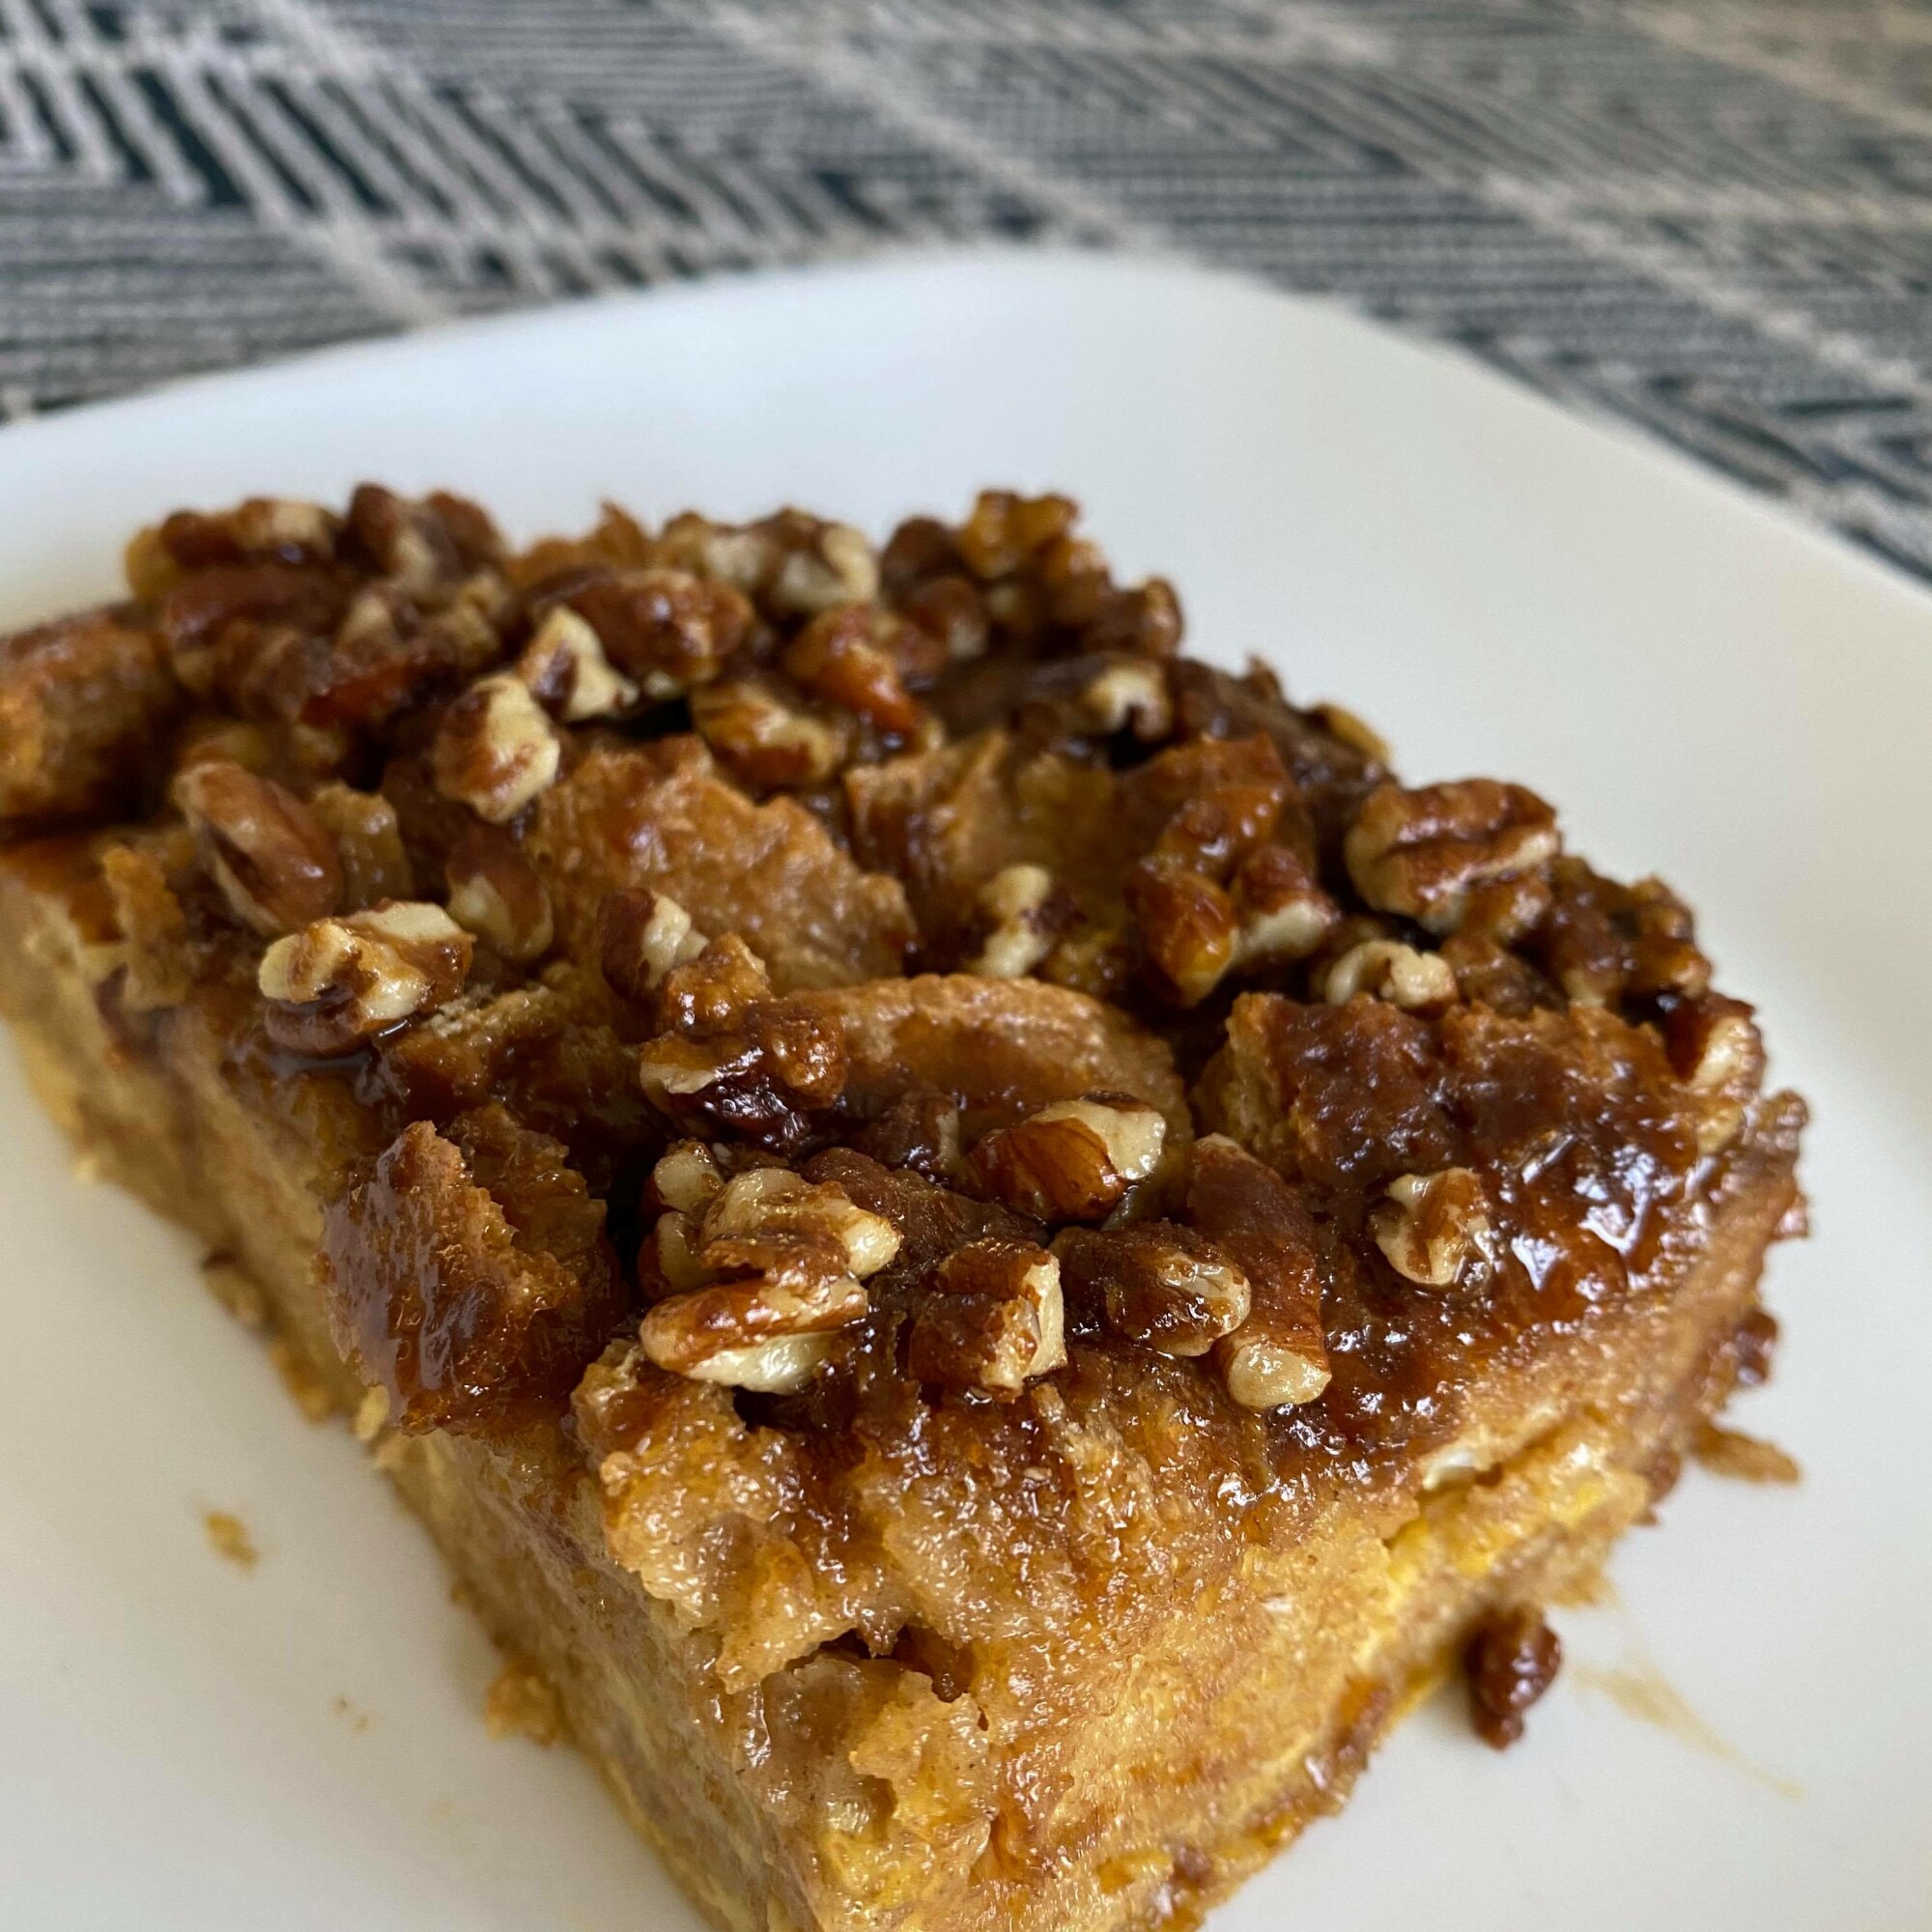
Enjoy! We love to drizzle a little extra maple syrup on top right before eating.


OK, friends. I've tried LOTS of from-scratch pancake recipes over the years, and this one takes the (pan)cake! I promise, it's really not THAT much more work than using a box mix. And it's SO much healthier this way! I've taken bits and pieces of different recipes that led to creating this one. It's a passion of mine to try to make things a little healthier by replacing white flour with whole grains, cutting sugar when possible, etc.
I make pancakes for my family pretty much every weekend. It's our thing! I love making them because I just love cooking, and my family LOVES to enjoy eating them. #winwin
Whole Wheat Pancakes
2¼ cup milk of your choice (I'm on a huge oat milk kick these days)
6 Tbs plain white vinegar
3 eggs
3 cups whole wheat flour (or 12 oz by weight)
3 tsp baking powder
1½ tsp baking soda
1 tsp pink Himalayan salt
6 Tbs butter, melted
Optional mix-in ideas: fresh berries, chocolate chips, cinnamon, Vitality Oils
Heat up your griddle (I put mine around 350° F). I really need a new one... I've got my eye on this one since it doesn't have a questionable nonstick surface that is no doubt bad for us. 😬 If you have a nontoxic one that you love, please let me know! I’ve tried using my cast iron griddle and just can’t get myself to love it for pancakes. 😆
Mix the milk and vinegar and let it sit for a few minutes (you’re making “buttermilk” here. If you’re using cow’s milk, it’s gonna get chunky and gross. That's normal!). Whisk the dry ingredients together. Whisk the egg, milk, and melted butter into the dry ingredients until just combined.
OK guys, confession time. I'm a little crazy with our pancakes. I do customized flavors for every single person in my family. LOL... I KNOW. Ridiculous, right? But it's not that big of a deal, and I actually enjoy doing it, so I keep doing it. Sometimes we like to make a few orange pancakes (using a few drops of Orange Vitality) or cinnamon pancakes (using Cinnamon Bark Vitality). Have fun with playing around with different Vitality Oils!
So. Sometimes I mix different flavors into different bowls, Sometimes I scoop batter with a ladle and add ingredients as I go. It depends on my mood! I pretty much always use a ladle to scoop the batter onto the griddle though. Once I started doing it this way, it was SO MUCH EASIER than pouring from my mixing bowl!
What's your favorite flavor pancake?

This is such a yummy fall treat! We always made these to send into preschool to share with the class since they're homemade and much healthier than store-bought cookies. We LOVE these cookies, especially this time of year. 

The Best Pumpkin Cookies!
- 2 ½ cups whole wheat flour
- 1 tsp baking soda
- 1 tsp baking powder
- 2 drops Cinnamon Bark Vitality (or 1 tsp ground cinnamon)
- ½ tsp salt
- 1½ cups coconut sugar
- ½ cup butter, softened
- 1 (15oz.) can pumpkin purée
- 1 egg
- 1 tsp vanilla extract
Preheat oven to 350°. Combine flour, baking soda, baking powder, cinnamon, and salt, set aside. Beat sugar and butter until well blended. Beat in pumpkin, egg, and vanilla until smooth. Gradually beat in flour mixture. Drop by rounded tablespoons onto baking sheet. A mini ice cream scoop works so well for this!
Bake for 15-18 minutes. Make sure to cool them completely before adding the glaze!
When cool, drizzle glaze over cookies.
Glaze:
- 1 cup powdered sugar
- 1 or 2 drops Lemon Vitality
- Milk (or even water) to thin glaze

Unless you've been living under a rock, you have no doubt heard some buzz about elderberry syrup. So, what’s the deal with elderberries? Elderberries are rich in vitamins A, B and C and have been a traditional cold and flu remedy for literally hundreds of years. They’re known to have high antioxidant activity and the bioflavonoids and other proteins in the juice of the berry can destroy the ability of a virus to infect a cell. Whaaaaat!
I know making your own can sound a bit daunting, but I promise you it's actually really easy! And WAY more cost effective! I love to add essential oils to ours to add an extra dose of amazingness (and flavor) to our elderberry syrup. Here’s the recipe that we've been using for the past few years...
Elderberry Syrup
- 1 cup dried organic elderberries
- 1½ cups organic raw honey (not only is raw honey naturally antimicrobial, which will keep your elderberry syrup fresh for a long time, it also contains far more nutrients since it hasn't been heated)
- 4 cups filtered water
- 7 drops Copaiba Vitality
- 6 drops Orange Vitality
- 3 drops Thieves Vitality
- 1 drop each Frankincense Vitality, Nutmeg Vitality, Cinnamon Bark Vitality, Clove Vitality
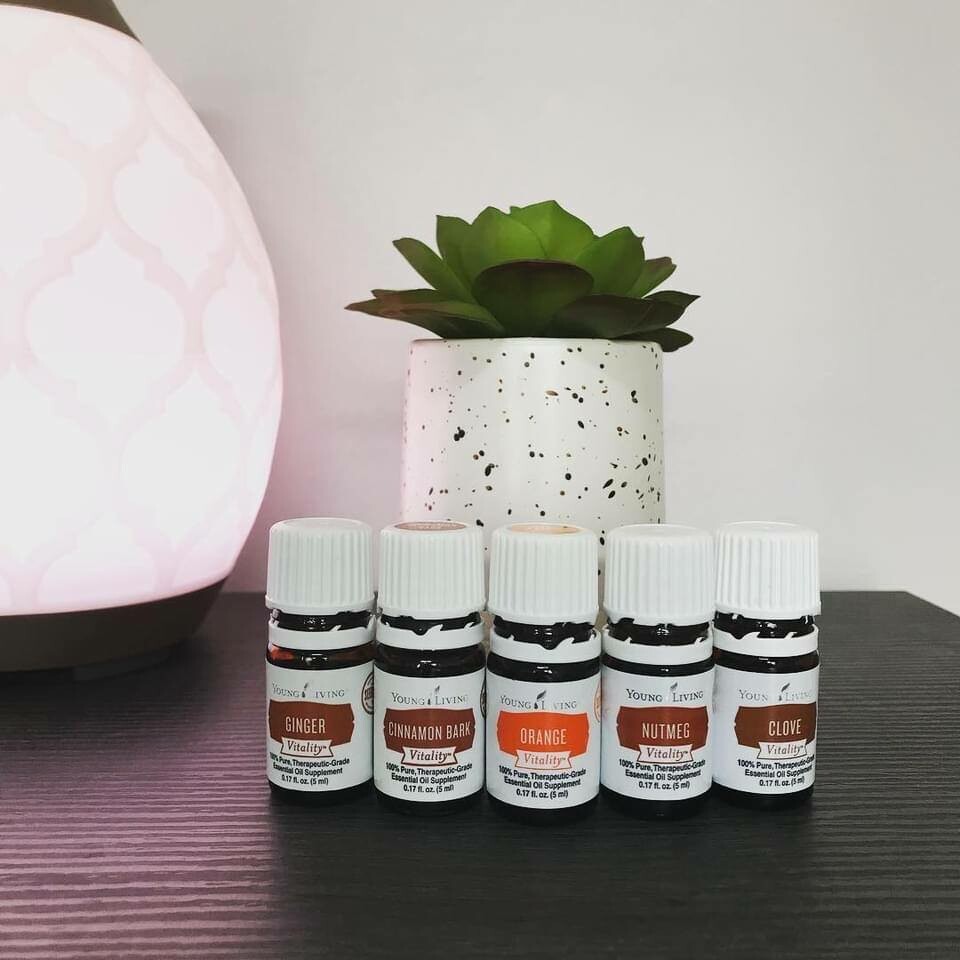
Pour the water into a medium saucepan and add the dried elderberries. Bring to a boil and then cover and reduce to a simmer for about 45 minutes to an hour, or until the liquid has reduced by almost half. Then, remove from heat and let it cool enough to be handled. Mash the berries carefully using a spoon or other flat utensil. I like to use a potato masher! Pour through a mesh strainer into a glass jar or bowl and try to press the berries against the strainer to get the most liquid as possible out of them. You could also use some cheesecloth, or bags like these.
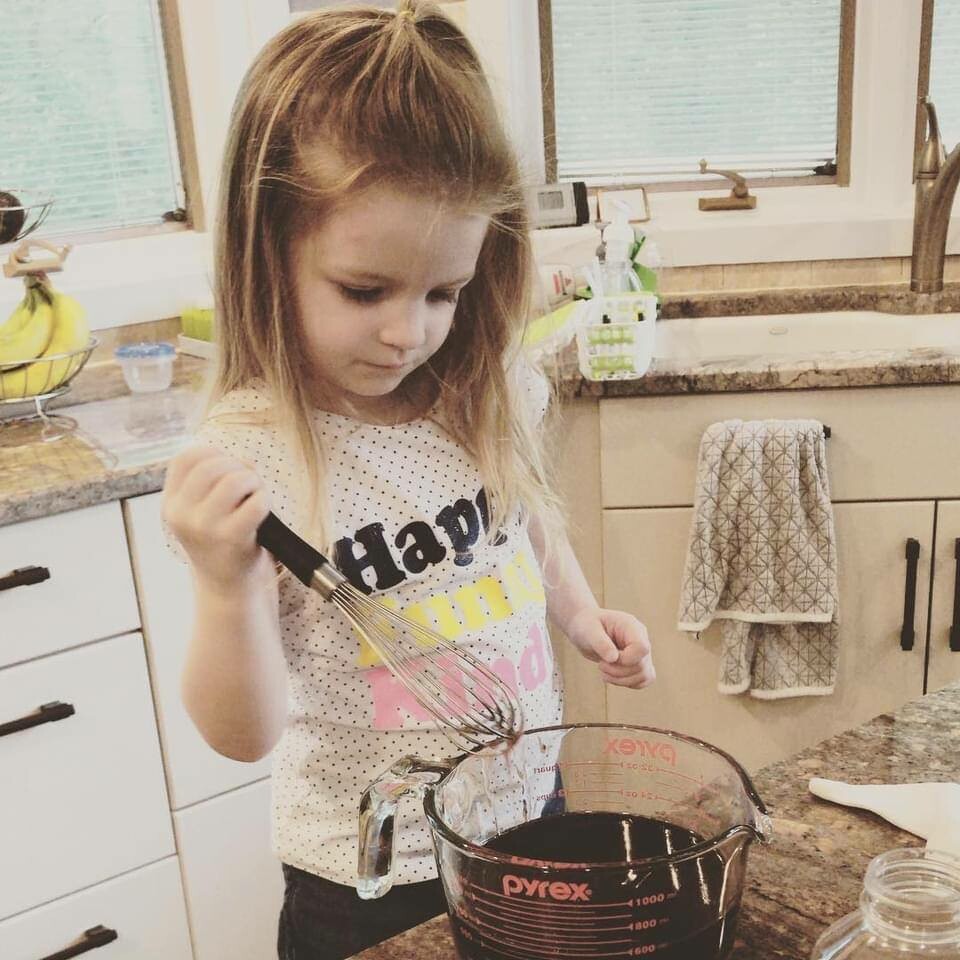
Toss the elderberries (or compost them!) and let the liquid cool to lukewarm. When it’s no longer hot, stir in the honey and essential oils. I like to use a whisk to mix it all really well.
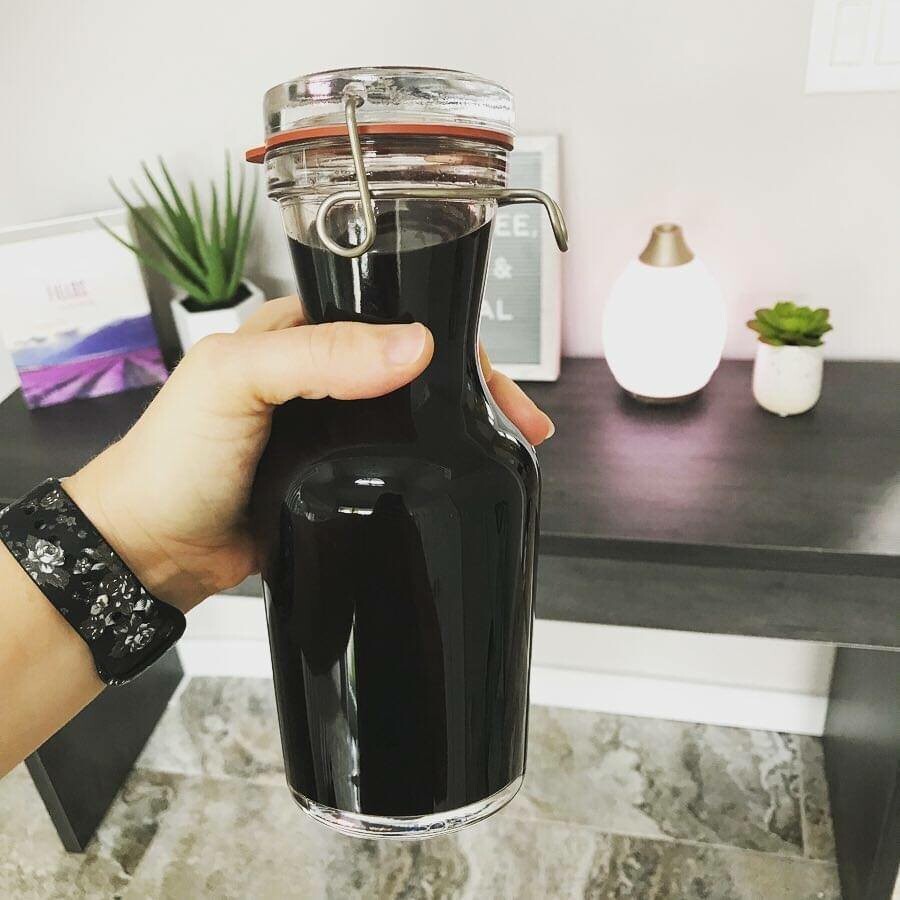
When everything is mixed well, pour the syrup into a large mason jar or glass bottle of some kind and store it in the fridge. We all take about a teaspoon daily as a preventative (we don't really measure, haha). To make it easy, I just pour a little into our daily shots of NingXia Red. (Side note: if you haven't learned about the incredible benefits of NingXia, ya need to ASAP. Check out my Instagram highlight where I talk about one of our biggest testimonials HERE.
Let’s take a look at some of the benefits of the essential oils used in this recipe and what they can do for you! Most of these are the essential oil versions of the spices called for in traditional elderberry syrup recipes. Knowing that 1 drop of peppermint oil is equivalent to 26 cups of peppermint tea in potency, it’s easy to see why using oils is a no-brainer!
I highly encourage you to do some research on the benefits of the essential oils and how they help support your immune system. Your mind will be blown! If you have an Essential Oils Pocket Reference, that's a great place to start! ;-)
Keep in mind that there are so many Vitality Oils you could choose from, so feel free to pick and choose which oils you use and how much of each you put in your syrup. This recipe can serve as a guide for you to make it just the way you like it. Too spicy? Add more honey. Too thin? Add more honey. Not enough flavor? Add more oils! It’s pretty much impossible to mess it up. Just tweak it as needed to suit your taste!
I've put together a bundle of my favorite vitality oils for this recipe for you here: elderberry syrup bundle
Do you already take elderberry syrup? Make your own or buy it?

OK guys, I was really never a huge cauliflower fan... until I tried this! My friend told me how she cooks hers, and I decided to give it another shot, and OMG. I'm OBSESSED!! I will seriously make this multiple times in a week sometimes!
The Best Roasted Cauliflower
- 1 head of cauliflower, washed in Thieves Fruit & Veggie Soak, rinsed and cut into bite sized pieces
- a drizzle of olive oil
- salt to taste
- a few spoonfuls of Locatelli cheese (if you can't find this, parmesan would be fine!)
I like to make sure the cauliflower is nice and dry before tossing with olive oil. Spread out onto a baking sheet lined with parchment paper. Drizzle with some olive oil and toss well to coat. Sprinkle some salt all over and pop into your preheated 425° oven for 40 minutes. THEN, take it out so you can sprinkle the cheese all over and toss it a bit. Pop back into the oven for about 10 more minutes, or until golden and caramelized. The browner, the better, in my opinion! Don't be surprised if you end up eating the entire cauliflower yourself! It's THAT GOOD!


